Service Manager powered by HEAT
Example: Creating a Report Quick Action
You can use the Create Report quick action to run an existing report against selected records. For example, you can create a printable report that lists selected items in a record.
For the Run Report quick action, the system does not support user prompts.
See Service Manager powered by HEAT.
1.From the Configuration Console, click Build > Automation Tools > Quick Actions to open the Actions Manager workspace. The list of business objects that have quick actions appears.
2.Click Add/Edit for the Incident business object. The Quick Actions Center appears.
3.Click the Create New Actions tab.
4.Select Run Report. The Run Report quick action appears.
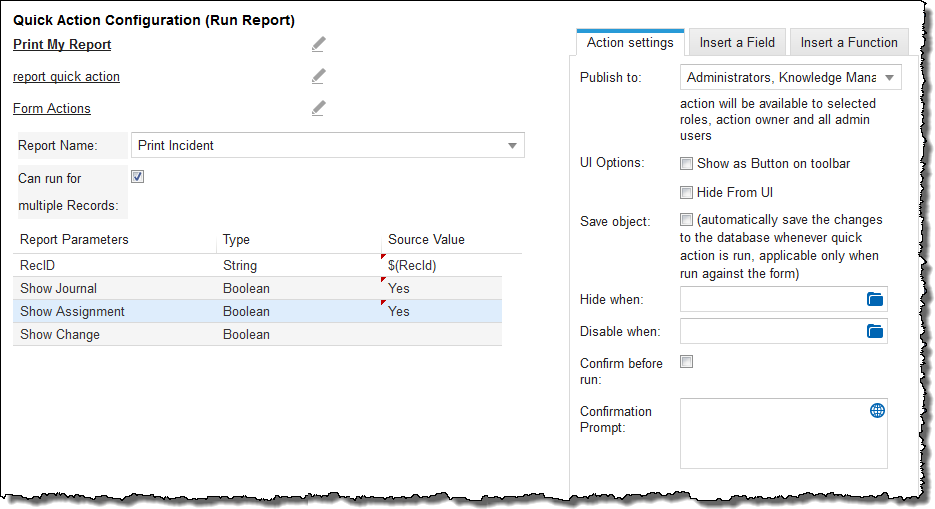
5.Enter information as needed in the following fields:
Report Quick Action
| Field | Description |
|---|---|
| Enter action name | A unique name for this quick action, such as Print My Report. |
| Enter action description | Enter report quick action. |
| Enter category | The category. From the drop-down list, select Form Actions. |
| Report Name | The name of the report. Select Print Incident from the drop-down list. The report parameters appear below. Only reports that are configured to run for quick actions are listed. After you select a report, the system displays the corresponding report parameters. |
| Can run for multiple records |
Enables users to select multiple incident records and run the Print quick action. When enabled, you can select multiple records in the incident list view.
If you select this option, you must include the primary key field of the business object (for example, the RecID) as a report parameter. When running the report for multiple records, the system collects the RecID of the current business object and sends it to the report for processing. |
6.Map the report parameters to the current business object fields by doing the following:
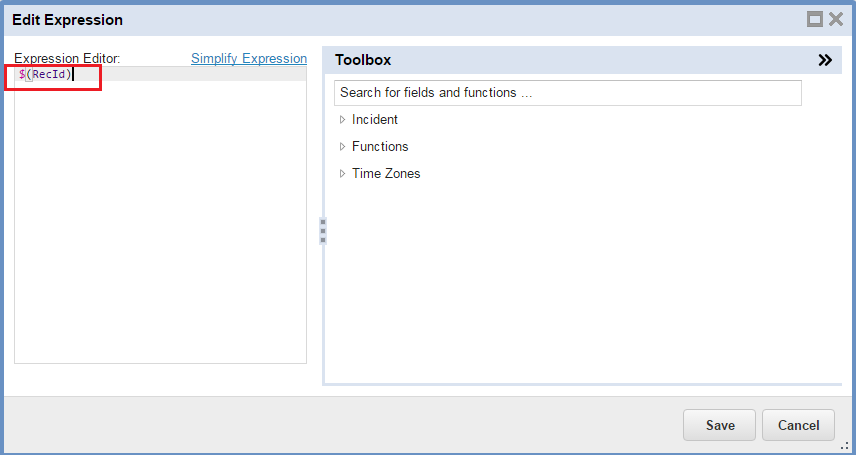
| a. | Double-click the Source Value field for the RecID parameter to activate it. The Edit Expression window appears. |
| b. | In the Expression Editor, enter RecID. The system displays $(RecId). |
RecID Field
| c. | Click Save. |
| d. | Double-click the Source Value field for Show Journal, then enter yes. |
| e. | Double-click the Source Value field for Show Assignment, then enter yes. |
7.From the Actions Settings tab, set the following:
| Field | Description |
|---|---|
| Publish to | Click the drop-down menu and select the roles that need access to this template (such as administrator, Service Desk Analyst, Service Desk Manager). |
| Hide in UI | Leave this option unchecked to make this template available to the Ivanti Service Manager user roles that you publish to. |
8.Click Save. The quick action now appears on the list of actions.
Was this article useful?
The topic was:
Inaccurate
Incomplete
Not what I expected
Other
Copyright © 2017, Ivanti. All rights reserved.